Discovering a tear in your leather sofa can feel like a disaster, especially when you've invested in quality furniture. Whether it's from daily wear, pet claws, or an accidental mishap, a torn leather sofa doesn't have to mean the end of your favourite piece. The good news? Many leather sofa tears can be repaired at home with the right techniques, and even larger damages can be professionally restored.
This guide walks you through practical methods to fix leather sofa tears, helping Sydney homeowners save money whilst keeping their furniture looking immaculate.
Understanding Your Leather Type Before You Repair
Before attempting any repair, identify what type of leather you're working with. Different leather types need different approaches, and using the wrong method can make the damage worse.
Full-grain leather features natural texture and requires gentle handling. Top-grain leather has been lightly sanded and is more forgiving during repairs. Bonded leather contains synthetic materials and can't handle excessive moisture. Faux leather, whilst not genuine, still needs specialized care to avoid cracking.
Check the manufacturer's label under your cushions or on the frame. This information will guide your repair approach and help you choose the right products. If you're unsure, test any product on a hidden area first.
What You'll Need for Leather Repair
Having the right tools makes leather repair significantly easier. Here's what to gather before you start:
- Leather cleaner (pH-neutral)
- Microfibre cloths
- Leather repair kit (includes filler, adhesive, and colour compound)
- Leather conditioner
- Scissors or craft knife
- Soft brush
- Leather glue (for smaller tears)
- Backing material (for larger tears)
Most of these items are available at hardware stores like Bunnings or specialty leather supply shops across Sydney. Investing in quality products ensures better, longer-lasting results.
Method 1: Repairing Small Tears with Leather Glue
For tears smaller than 2cm, leather glue is a quick and effective solution. This method works particularly well on sealed leather types.
Step 1: Clean the damaged area thoroughly with a pH-neutral leather cleaner. Remove any dirt or oils that might prevent proper adhesion.
Step 2: Trim any loose fibres or threads around the tear using sharp scissors. This creates clean edges that will bond better.
Step 3: Apply leather glue sparingly using a thin applicator or toothpick. Spread it evenly along both sides of the tear.
Step 4: Press the torn edges together firmly and hold for 30 seconds. Wipe away any excess glue immediately with a damp cloth.
Step 5: Allow 24 hours to cure completely before using the sofa. Apply leather conditioner around the repair to blend the texture.
This method is virtually invisible when done correctly and creates a strong, flexible bond that moves with the leather.
Method 2: Using a Leather Repair Kit for Medium Tears
Tears between 2-5cm require more comprehensive repair using a leather repair kit. These kits typically include filler, colour compounds, and finishing materials.
Step 1: Clean and prepare the damaged area as described above. Make sure the surface is completely dry before proceeding.
Step 2: Cut a backing patch from the sub-patch material included in your kit. The patch should extend at least 1cm beyond the tear on all sides.
Step 3: Apply adhesive to the backing patch and carefully insert it underneath the tear. Use a blunt tool to smooth it flat against the underside.
Step 4: Press the torn leather onto the backing patch. Hold firmly until the adhesive sets, usually 5-10 minutes.
Step 5: Mix the leather filler according to kit instructions. Apply it over the tear in thin layers, allowing each layer to dry before adding the next. This builds up the surface gradually.
Step 6: Once the filler is level with the surrounding leather, sand it lightly with fine-grit sandpaper (400 grit works well).
Step 7: Apply the colour compound that matches your sofa. Most kits include multiple colours that you can blend. Apply several thin coats rather than one thick coat.
Step 8: Finish with the sealant or grain paper included in your kit to replicate the leather's natural texture.
This process takes patience, but the results can be remarkably professional when done carefully.
Method 3: Hand-Stitching Leather Splits
If your sofa has split along a seam, hand-stitching is a durable solution that's often stronger than the original.
You'll need a leather needle, strong thread (waxed polyester works brilliantly), and some patience. Thread the needle and tie a strong knot at the end.
Starting from the underside, push the needle through following the existing stitch holes if possible. Use a simple running stitch or backstitch for maximum strength. Keep your stitches even and consistent, pulling the thread snug but not so tight that it puckers the leather.
When you reach the end, tie off securely on the underside. Apply a small amount of leather glue along the seam for extra security, then condition the area to keep it supple.
Dealing with Larger Tears and Deep Damage
Tears larger than 5cm or those involving significant leather loss require a different approach. At this point, you're looking at either advanced DIY repair or professional intervention.
For extensive damage, you'll need to source a leather patch that matches your sofa's colour and texture. Specialist leather suppliers in Sydney can often help with suitable materials. The patch is glued underneath the tear, then the edges are carefully blended using filler and colour compounds.
That said, tears in high-stress areas (seat cushions, armrests) or on valuable furniture pieces are best handled by professionals. Expert leather technicians have access to superior materials and techniques that ensure the repair will hold up under regular use.
Preventing Future Tears
Once you've repaired your leather sofa, prevention becomes key. Here are proven strategies to protect your investment:
Regular conditioning keeps leather supple and less prone to tearing. Apply a quality leather conditioner every 6-12 months. This replaces natural oils that dry out over time.
Keep your sofa away from direct sunlight and heating vents, which cause leather to dry and crack. UV damage weakens the material, making tears more likely.
Use throws or cushions in high-wear areas. If you have pets, trim their claws regularly and consider protective covers for your furniture.
Address small damage immediately. A tiny tear can quickly become a major problem if left unattended. Early intervention saves time and money.
Common Mistakes to Avoid
Many well-intentioned repair attempts fail because of these common errors:
Using too much adhesive causes hard spots and prevents the leather from flexing naturally. Less is more with leather glue and filler.
Skipping the cleaning step means repairs won't stick properly. Always clean and dry the area thoroughly first.
Forgetting to condition after repair can leave the leather stiff and prone to future damage. Conditioning restores flexibility.
Rushing the process leads to poor results. Each step needs adequate drying time. Patience pays off with leather repair.
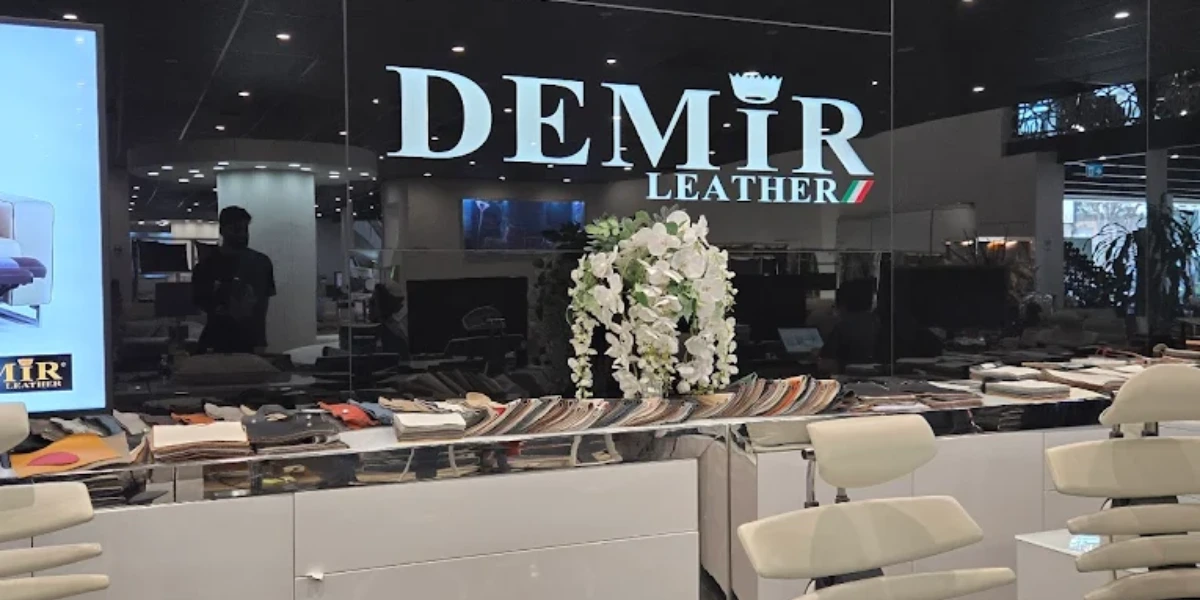
Need expert guidance on leather furniture care?Whether you're dealing with a tear, considering repair options, or looking to invest in quality leather furniture that's built to last, visit Demir Leather for personalised advice. Our Sydney furniture stores showcase premium Italian leather sofas crafted for durability, and our team can recommend the best care practices for your specific furniture.